Matplotlib Animation
While creating a simulation for Monty Hall Problem, I had to generate a gif and live plot of the simulation. Matplotlib provides Animation methods for doing exactly what I wanted. I played with the animation methods and created live graph plots for my simulation. In this post, I would like to share my experience and learning.
Simple Animation
First let’s look at a basic animation of sin(x) where sin(x) values are updated every frame.
The gif looks something like this.
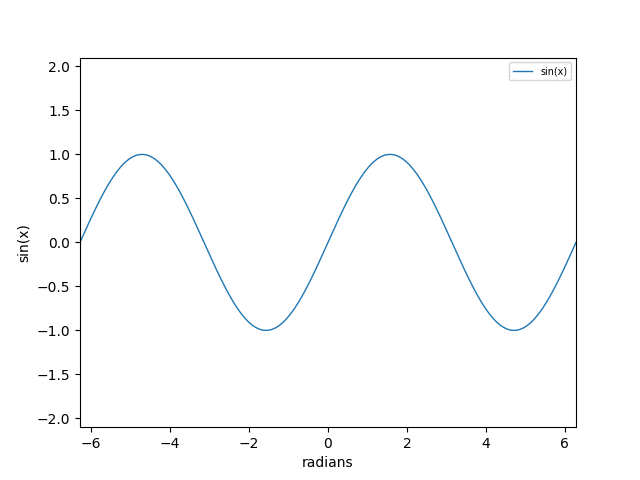 Below program is used to create the above gif.
import numpy as np
import matplotlib.pyplot as plt
import matplotlib.animation as animation

def init():
	#set the min-max tick of Y axis
        ax.set_ylim(-2.1, 2.1)
	#set the label for Y axis
        ax.set_ylabel('sin(x)')
	#set the min max limit for X axis
        ax.set_xlim(-2*np.pi, 2*np.pi)
	#set the label for X asix
        ax.set_xlabel('radians')
	#set the legend fontsize
        ax.legend(fontsize = 'x-small')
	#initally no data to plot
        line.set_data(0, 0)
        #return Line2D object
	return line,

def run(i):
	#generate x values for this frame.
	#It remains same for all frames for this example.
        x = np.linspace(-2*np.pi, 2*np.pi, 1000)
	# update y values. Notice 'x+i' to generate new y values
	# everytime run() is called
        y = np.sin(x+i)
	# sets the values for x and y for plotting
        line.set_data(x, y)
        return line,

# Create a figure and just one subplot
fig, ax = plt.subplots()

# Get the line object for drawing. we can pass line width(lw)
#and set label.
line, = ax.plot(0, 0, lw = 1, label = 'sin(x)')

#This is the main animation routine
ani = animation.FuncAnimation(fig, run, blit=False, interval=150,
                                        repeat=False, init_func=init)
plt.show()
Lets walk through the code to understand the way it works.
1) First we need to do some basic setup to plot our graph.
Below code creates a figure and subplot on which the graph will be
plotted. Initially, there is no line to plot. So, ‘0’ & ‘0’ is passed
for x & y values in plot(). You can also pass the line width
lw and any label
fig, ax = plt.subplots()
line, = ax.plot(0, 0, lw = 1, label = 'sin(x)')
2) Then we need to set up an init function to be called once before first frame.
The init() function is called before drawing the first frame to provide a clean slate to draw on.
def init():
        ax.set_ylim(-2.1, 2.1)
        ax.set_ylabel('sin(x)')
        ax.set_xlim(-2*np.pi, 2*np.pi)
        ax.set_xlabel('radians')
        ax.legend(fontsize = 'x-small')
        line.set_data(0, 0)
        return line,
Here we just set the label for X and Y axis and also their respective limits(min-max). We return a Line2D object which will be used to update the graph.
3) Now, we need to setup a function to update xdata and ydata of our graph for each frame.
run() will be called at each frame to generate x and y values for the graph for each frame.
It basically takes the frame number i as input and then generates y values using sin(x+i).
def run(i):
        x = np.linspace(-2*np.pi, 2*np.pi, 1000)
        y = np.sin(x+i)
        line.set_data(x, y)
        return line,
To generate x values we are using np.linspace() in every frame with the same args.
Hence, there is no need to change limits for X axis. Later in another example,
I will show how X axis limits can be changed with varying x data.
4) Lastly, we need to create the animation object.
animation.FuncAnimation() creates an animation object. Above functions are passed
as params to this function.
ani = animation.FuncAnimation(fig, run, blit=False, interval=150,
                                        repeat=False, init_func=init)
Few more Params
Few other params of FuncAnimation() are discussed below.
blit param comes from “blitting” in graphics. It is a technique where anything static
in animation will be drawn once. By default, this option is false. If used appropriately, it
can help in performace gain for plotting the graph.
interval decides the rate at which subsequent frames will generated. In this program, each frame is generated
after a delay of 150 milliseconds.
repeat if set to true will restart the animation from beginning once all the frames are drawn.
Save GIF of Animation
If you want to save a gif of the animation, you need to add below line to the program
#This creates a gif using imagemagick and saves it
ani.save('./simple.gif', writer='imagemagick', fps=5)
This will work only if imagemagick is installed on your system.
To control the speed of frames, configure fps(frames per second). In this example, we are using 5 frames per second.
It means 5 frames will be drawn every second.
If you want to configure the number of frames saved in the gif, set save_count in FuncAnimation().
ani = animation.FuncAnimation(fig, run, blit=False, interval=150,
                                        repeat=False, init_func=init, save_count= 10)
This will save only 10 frames in our gif.
#frames
ani = animation.FuncAnimation(fig, run, frames=gen, blit=False, interval=150,
                                        repeat=False, init_func=init)
Also, if you want to generate fixed number of frames, say 500, you can pass frames = 500 to FuncAnimation().
In this case graph will run until 500 frames are generated.
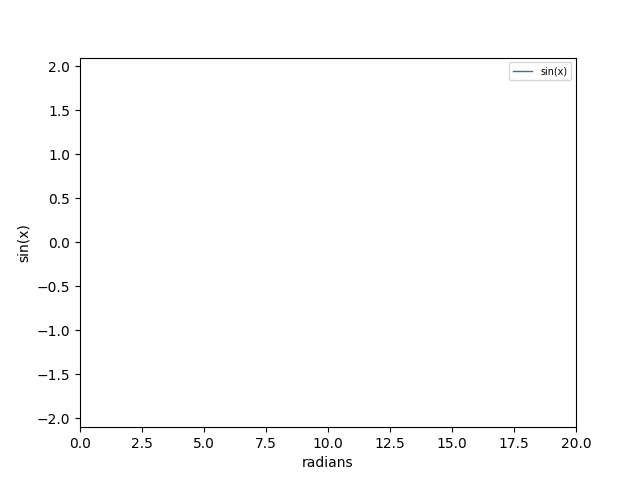
Animation with Generator Function and Rescaling X axis
In the example discussed above, run() accepts frame number i as input. However, this function can accept
other source of data too instead of frame number i. For example, a generator function can be passed to run()
instead of i to generate new x and y values. frames parameter is used in FuncAnimation() to
pass any other source of data to this function. For example, a generator function, say simulate(), can
be passed as frames=simulate to FuncAnimation().
Besides, the X Axis limits(0-20) in the previous example is fixed. What if we need to rescale it as xdata increases.
Below gif is generated by using a generator function and X axis is rescaled according to new xdata.
And here is the code
import numpy as np
import matplotlib.pyplot as plt
import matplotlib.animation as animation

#generator function for x and y data
def simulate():
        x = np.linspace(0, 200, 1000)
        for i in x:
                yield i, np.sin(i)

#init function
def init():
        ax.set_ylim(-2.1, 2.1)
        ax.set_ylabel('sin(x)')
        ax.set_xlim(0, 20)
        ax.set_xlabel('radians')
        ax.legend(fontsize = 'x-small')
        del xdata[:]
        del ydata[:]
        line.set_data(xdata, ydata)
	return line,

#data is the generator func simulate()
def run(data):
	#get x,y data from simulate()
        x, y = data
        xdata.append(x)
        ydata.append(y)

	#get limits of X axis
        xmin, xmax = ax.get_xlim()

	#if x is over max limit of X axis, rescale it
        if x >= xmax:
		#rescale
                ax.set_xlim(xmin, 2*xmax)
		#redraw
                ax.figure.canvas.draw()
	#update x and y data
        line.set_data(xdata, ydata)
        return line,

fig, ax = plt.subplots()
line, = ax.plot([], [], lw = 1, label = 'sin(x)')
xdata, ydata = [], []
#frames=simulate sets the generator func
ani = animation.FuncAnimation(fig, run, frames=simulate, blit=False, interval=10,
                                        repeat=True, init_func=init)
plt.show()
In this example, we are using a generator function simulate() to generate x & y data. We pass
it to the anim object using frames=simulate param. The run() function argument data refers to
the generator function simulate(). It is used to get x & y values to create new frame.
def run(data):
        #get x,y data from simulate()
        x, y = data
        xdata.append(x)
        ydata.append(y)
.....
.....
Also, our initial X Axis limit is set to (0, 20) in init().
ax.set_xlim(0, 20)But as xdata increases and goes beyond the limit 20, we need to rescale it. We are increasing the max limit to twice the previous limit,e.g, 40, 60,….
def run(data):
.....
.....
	#get limits of X axis
	xmin, xmax = ax.get_xlim()

	#if x is over max limit of X axis, rescale it
	if x >= xmax:
		#rescale
		ax.set_xlim(xmin, 2*xmax)
		#redraw
		ax.figure.canvas.draw()
.....
.....
That’s all for this post. Hope it helps!